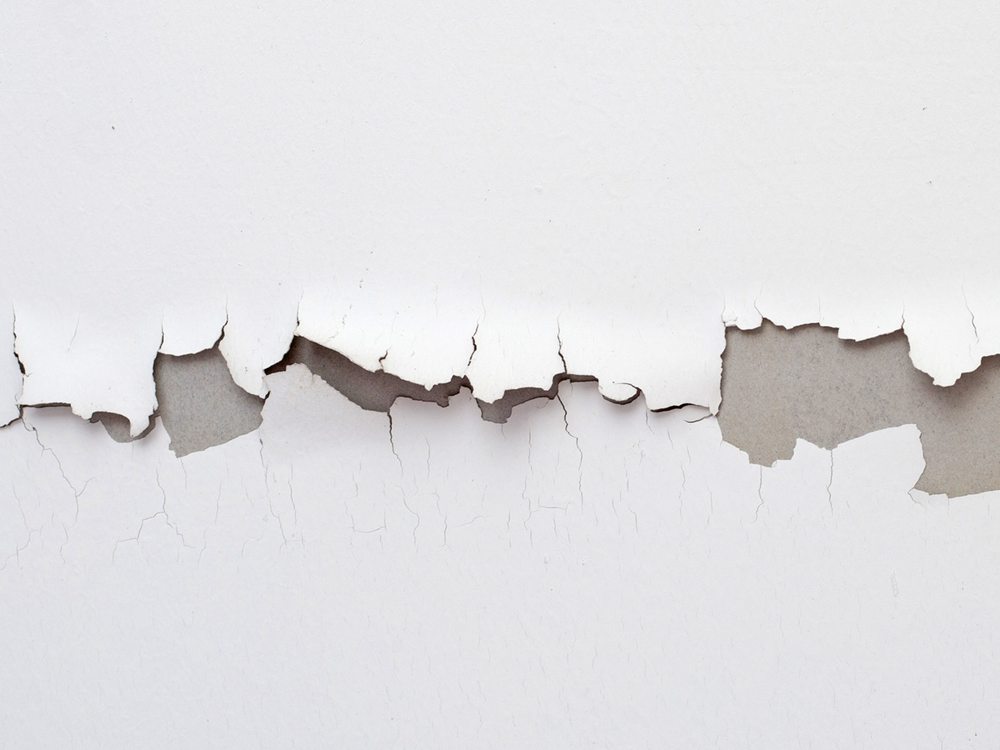
Peeling paint on a ceiling can be an eyesore and make a room look unkempt. Thankfully, it’s usually a straightforward process to repair peeling ceiling paint. With some basic supplies, time and elbow grease, you can get your ceiling looking freshly painted again.
Table of Contents
Causes of Peeling Ceiling Paint
Before diving into how to fix it, it’s helpful to understand why ceiling paint may start peeling in the first place. Some of the most common causes include:
Moisture Issues
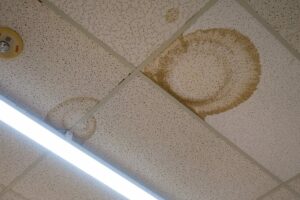
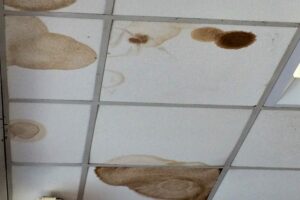
Excess moisture is one of the biggest culprits when it comes to peeling paint. Sources of moisture like leaks, condensation and humidity can cause the paint to bubble and peel away from the ceiling.
Improper Surface Preparation
If the ceiling wasn’t properly prepped and primed before painting, the paint may not adhere correctly. Things like glossy surfaces, grease, dirt and chalking paint can prevent the new paint from sticking.
Age
Over time as ceiling paint ages, it naturally starts to deteriorate and peel away. Sunlight, pollution and normal wear and tear on the paint can cause it to lose integrity.
Incompatible Paints
Sometimes peeling occurs when incompatible types of paint are used. For example, applying a water-based paint over an oil-based one without primer can make the new paint peel.
Materials Needed
Fixing peeling ceiling paint requires just a few simple materials:
- Paint scraper – to scrape away any loose, flaking paint
- Sandpaper – to rough up glossy surfaces for better paint adhesion
- TSP substitute – to clean and degloss the ceiling
- Paint primer – to prepare the surface for new paint
- Ceiling paint – latex-based is best for ceilings
- Paint roller and tray – for applying new paint
- Paintbrush – for cutting in edges and corners
- Drop cloth – to protect floors and furniture from paint drips
Optional supplies:
- Painter’s tape – for crisper paint lines if desired
- Paint sprayer – for very large ceilings or an airless finish
- Ladder – to reach high or vaulted ceilings
Step-By-Step Repair Process
With the right supplies assembled, you’re ready to tackle the peeling ceiling paint. Follow these steps:
1. Prepare the Workspace
Clear the room of any furniture or items below the section of the ceiling you’ll be painting. Cover the floors and any remaining furniture with a drop cloth. Have your ladder and supplies ready to go.
2. Remove Loose Paint
Use a paint scraper to gently pry away any sections of paint that are already cracking, peeling or flaking away. Try to remove all of the loose paint – this gives the new paint a solid, stable surface to adhere to.
3. Sand Glossy Surfaces
If there are any glossy areas of old paint remaining, sand them with fine grit sandpaper. This roughs up the slick surface so the new paint can grip better. Wipe away all sanding dust when finished.
4. Clean the Ceiling
Use a TSP substitute cleaner and warm water to wash the entire ceiling. This removes grease, dirt and chalking paint so the new coat will stick. Rinse thoroughly and let the ceiling fully dry.
5. Spot Prime Exposed Drywall
For any sections where you scraped down to bare drywall, spot prime just those areas with drywall primer. This seals the drywall paper so paint won’t soak in unevenly.
6. Apply Paint Primer
Next, apply a high-quality primer over the entire ceiling. This gives the topcoat of ceiling paint something to bond to. Use a paint roller and extension pole for easier coverage on high ceilings.
7. Fix Any Holes or Imperfections
Before painting, use spackle or drywall joint compound to patch any small holes, cracks or imperfections. Sand smooth when dry.
8. Cut In the Ceiling Edges
Use an angled paintbrush to carefully cut in around the ceiling edges where it meets the walls. This prepainting gives you a crisp border to roll into.
9. Apply Two Coats of Ceiling Paint
When the primer is fully dry, you’re ready for the finished ceiling paint. Apply two coats, allowing the first coat to fully dry before adding the second. Use a roller with an extension pole for easy reach.
10. Remove Painter’s Tape (If Used)
If you used painter’s tape for sharper edges, peel it away immediately after painting before the paint has a chance to fully dry.
11. Allow Paint to Fully Cure
Give the new paint several days to fully cure and harden before moving furniture back into place or hanging items on the ceiling.
Tips for Preventing Ceiling Paint Peeling
To help prevent peeling paint in the future:
- Properly prep and prime the ceiling before painting
- Use high quality primer and paint designed for ceilings
- Correct any moisture issues prior to painting
- Allow adequate drying time between coats
- Gently wash ceilings annually to remove dirt and grease
- Spot paint when you first notice any cracks or peeling to stop it spreading
Taking steps to keep excessive moisture away from ceilings can also help eliminate peeling. Be sure to:
- Run bathroom and kitchen exhaust fans when showering or cooking
- Fix any roof leaks or plumbing leaks promptly
- Improve attic and crawlspace ventilation if humidity is an issue
With proper prep work, application and maintenance, your freshly painted ceiling should stay crisp and peel-free for years to come.
Frequently Asked Questions About Fixing Peeling Ceiling Paint
1. How can I tell if my peeling ceiling paint is caused by moisture?
Some signs that indicate excess moisture is causing the peeling:
- Paint is bubbling, cracking or blistering – not just flaking in areas
- Peeling is worse in bathrooms, kitchens or other humid areas
- You have or have had other moisture issues like leaks
- Peeling is worse in cold months when condensation occurs more
2. Does the whole ceiling need repainting or just the peeling areas?
If the peeling is limited to isolated spots, you can probably just repaint those areas if you match the paint color. But if large sections are peeling or you notice the paint has faded, it’s best to repaint the entire ceiling for a uniform appearance.
3. Should I scrape the peeling paint by hand or use a power sander?
Scraping by hand is safer for ceilings and less likely to gouge the surface. Use a fine grit sandpaper to manually smooth any glossy areas. Reserve power sanders for prepainting walls, which are more durable.
4. How long does the primer need to dry before painting the ceiling?
Primer dries quickly, but follow the manufacturer’s recommended drying time before painting. Typically ceiling paint primer will be dry to the touch within 1 hour but needs 2-4 hours before recoating for the best adhesion.
5. How many coats of paint should be applied to the ceiling?
Two coats of high quality ceiling paint provides good coverage and protection. If the existing paint was very dark, it may take three coats to achieve full coverage and a bright white ceiling.


